Help and Instructions


How to mount the prints on the tri-fold

Download Instructions

  1. Lay the cardboard tri-fold flat on a table.

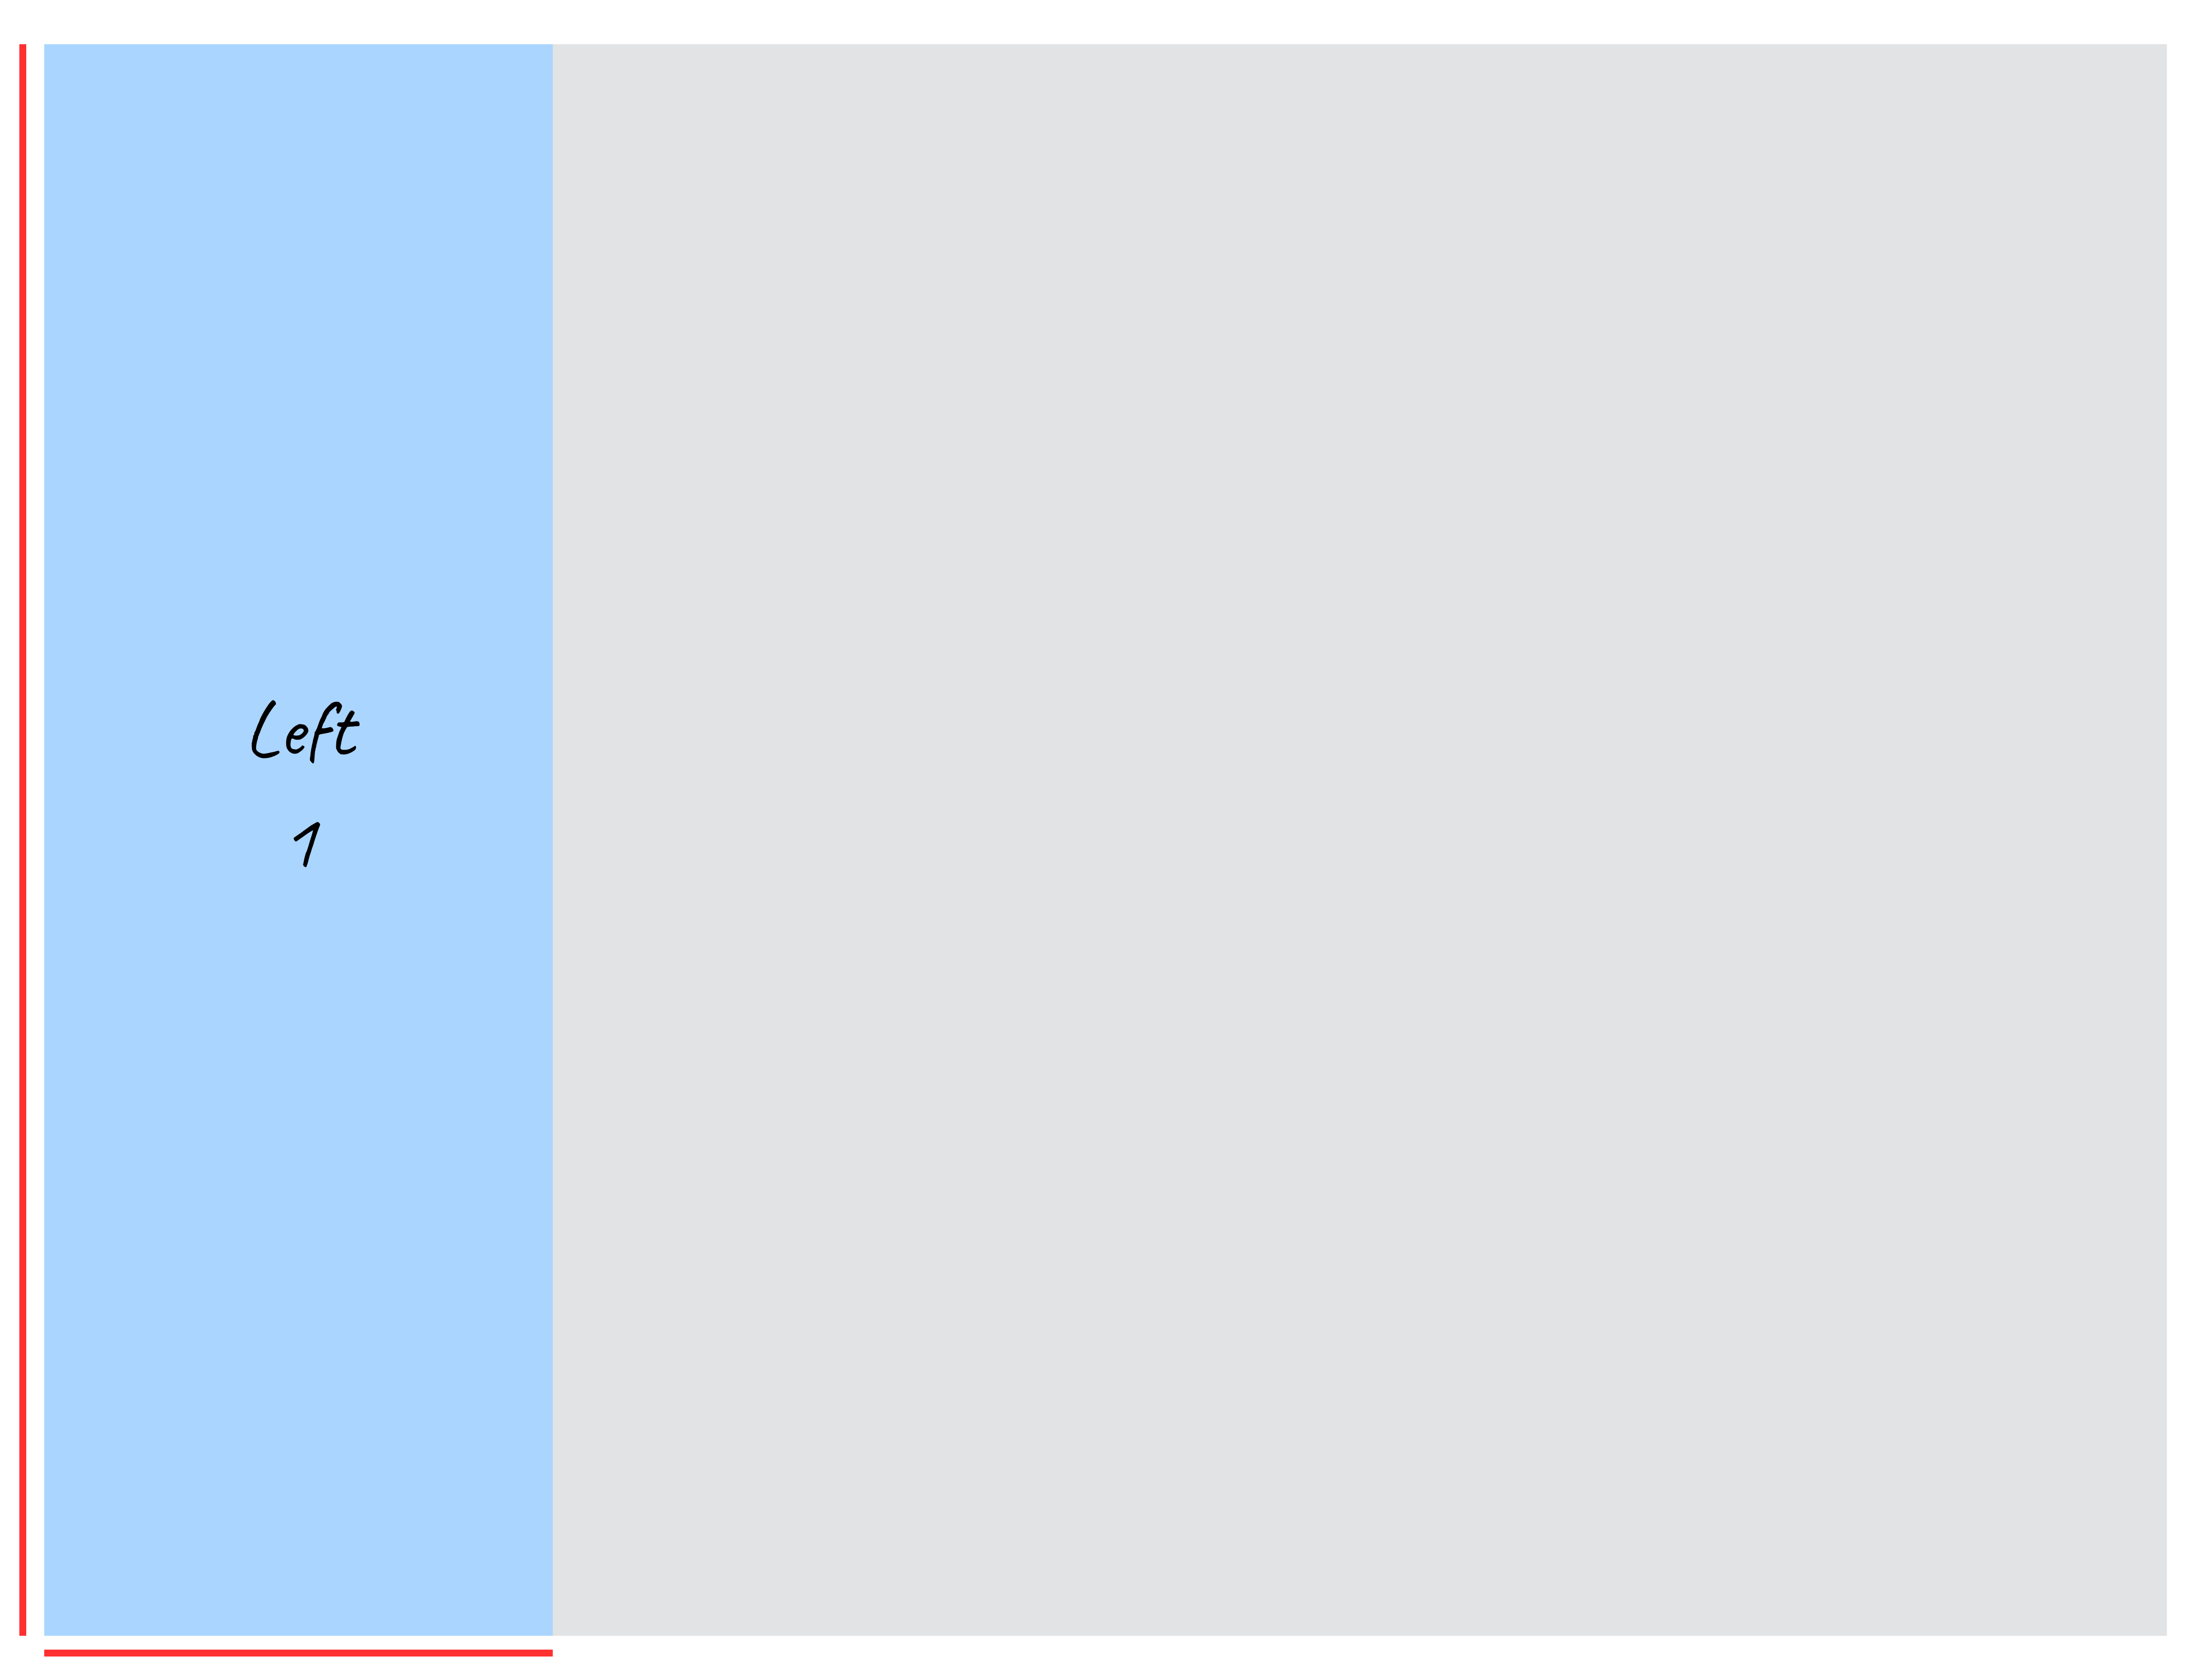
  2. Start with the left panel.

    1. Carefully lay it on the tri-fold and align it to the bottom and left edges of the tri-fold.  Paper should be flush with the cardboard with no overhang.

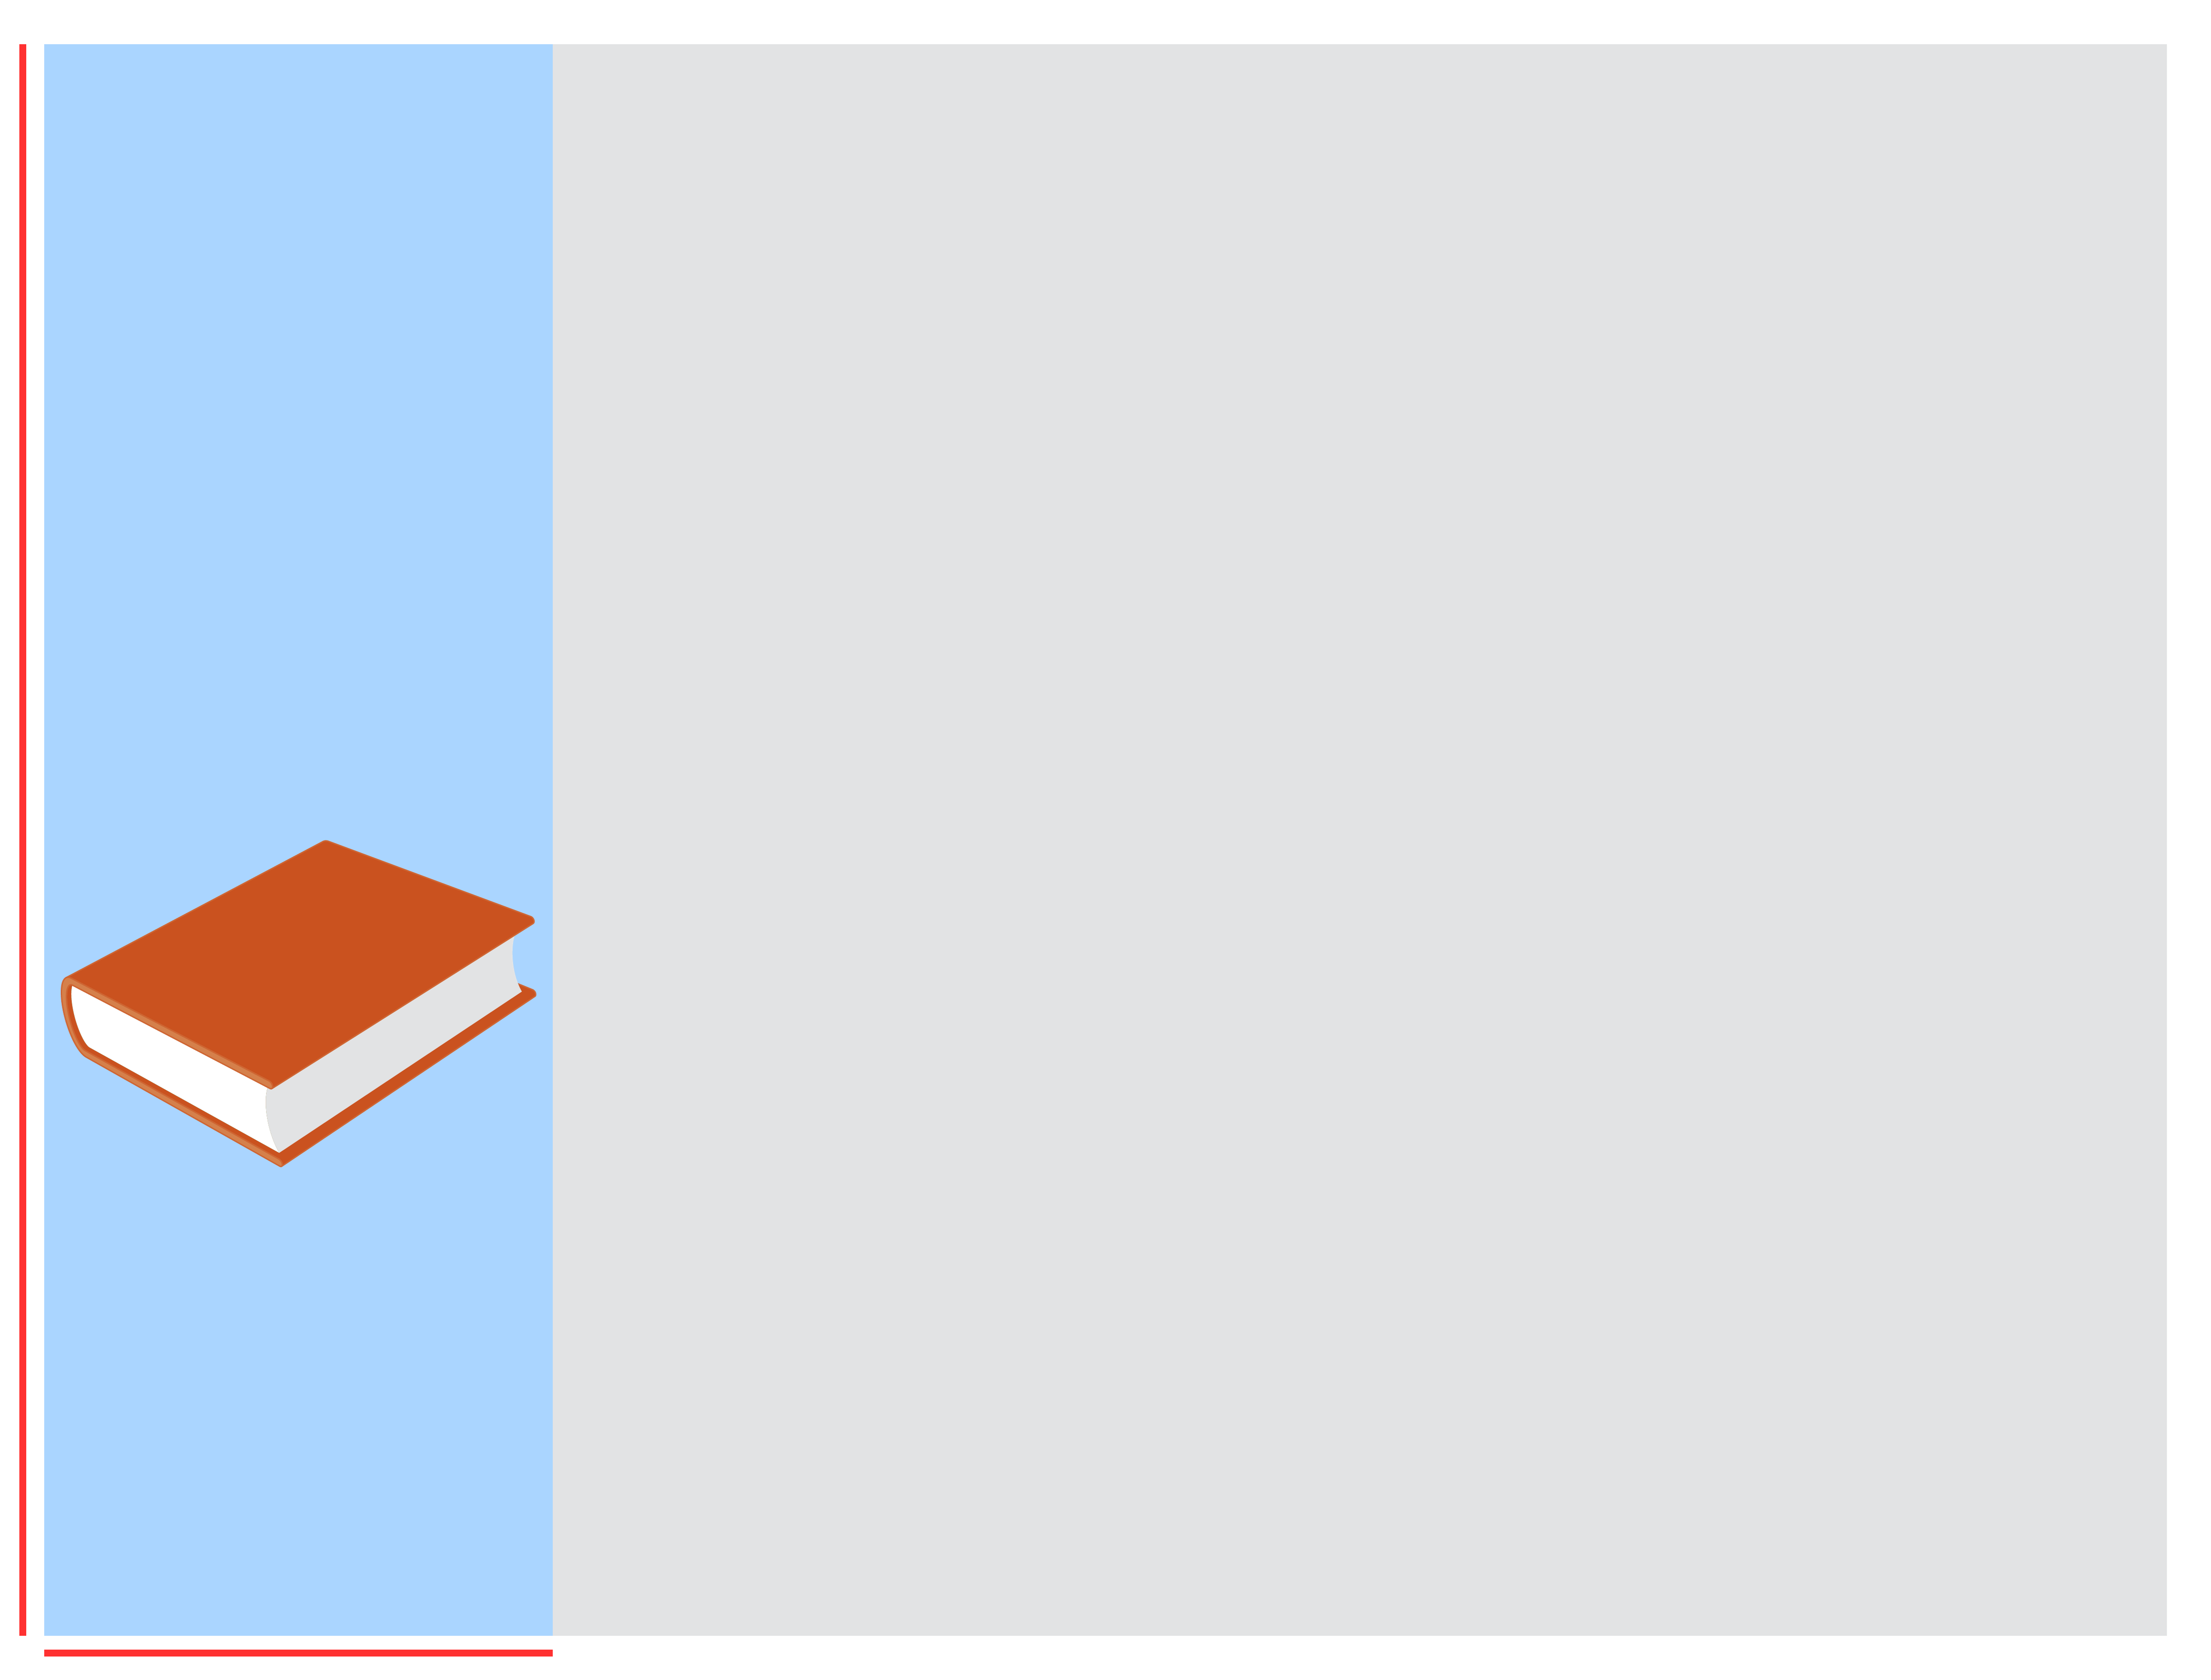
    2. Lay a heavy book or have someone hold the paper steady to maintain proper alignment.

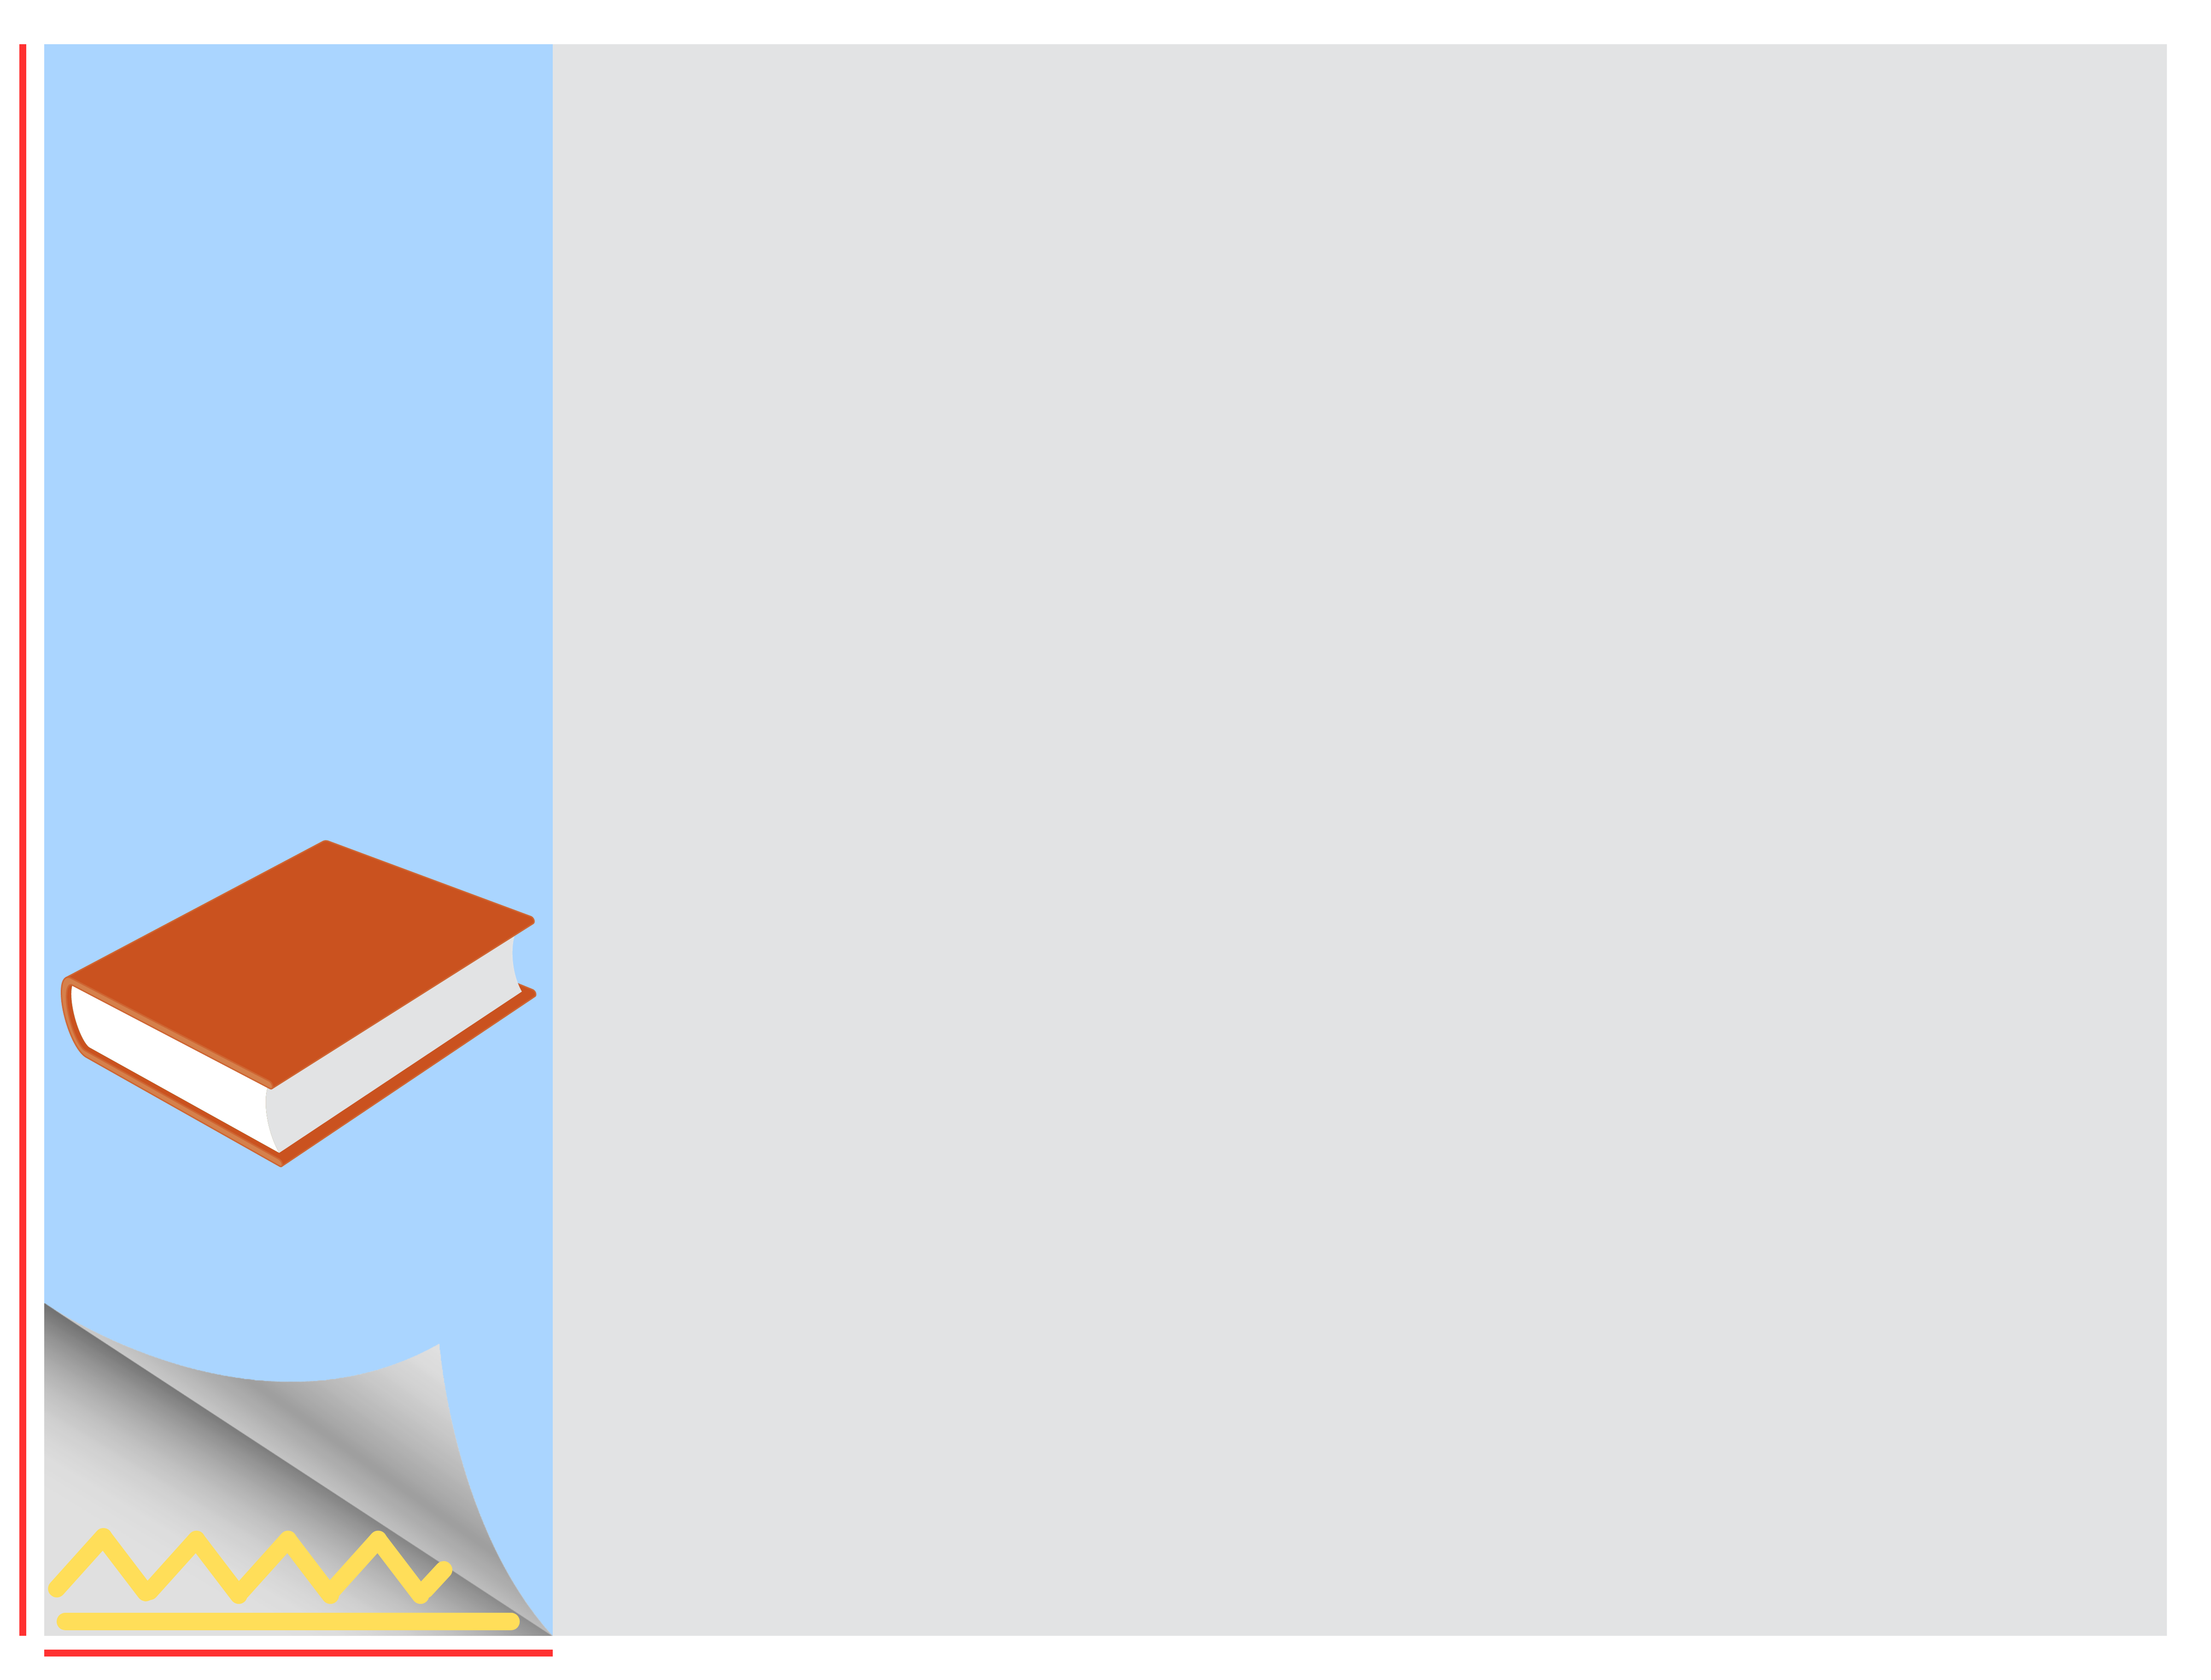
    3. Lift and roll back the bottom of the left panel about 6-10 inches.  

    4. Add glue straight along the bottom edge and apply additional glue up about 3-5 inches.

    5. Verify the panel has not moved and fold the 6-10 inches back down over the glue.

    6. Smooth the panel down over the glue and wait about 30 seconds for it to set up.

    7. Remove the book and lift and roll back the upper portion of the panel down to where you already glued it.  Add glue along the left and right edges of the panel along with a minimal amount in the middle.

    8. Work about 8-12 inches at a time smoothing the paper upward over the glue as you work your way to the top.  

Note:  Focus the glue along the left, right, top and bottom edges.  Use minimal glue in the center as you don’t need much glue to hold the paper.  Too much glue could cause wrinkles.

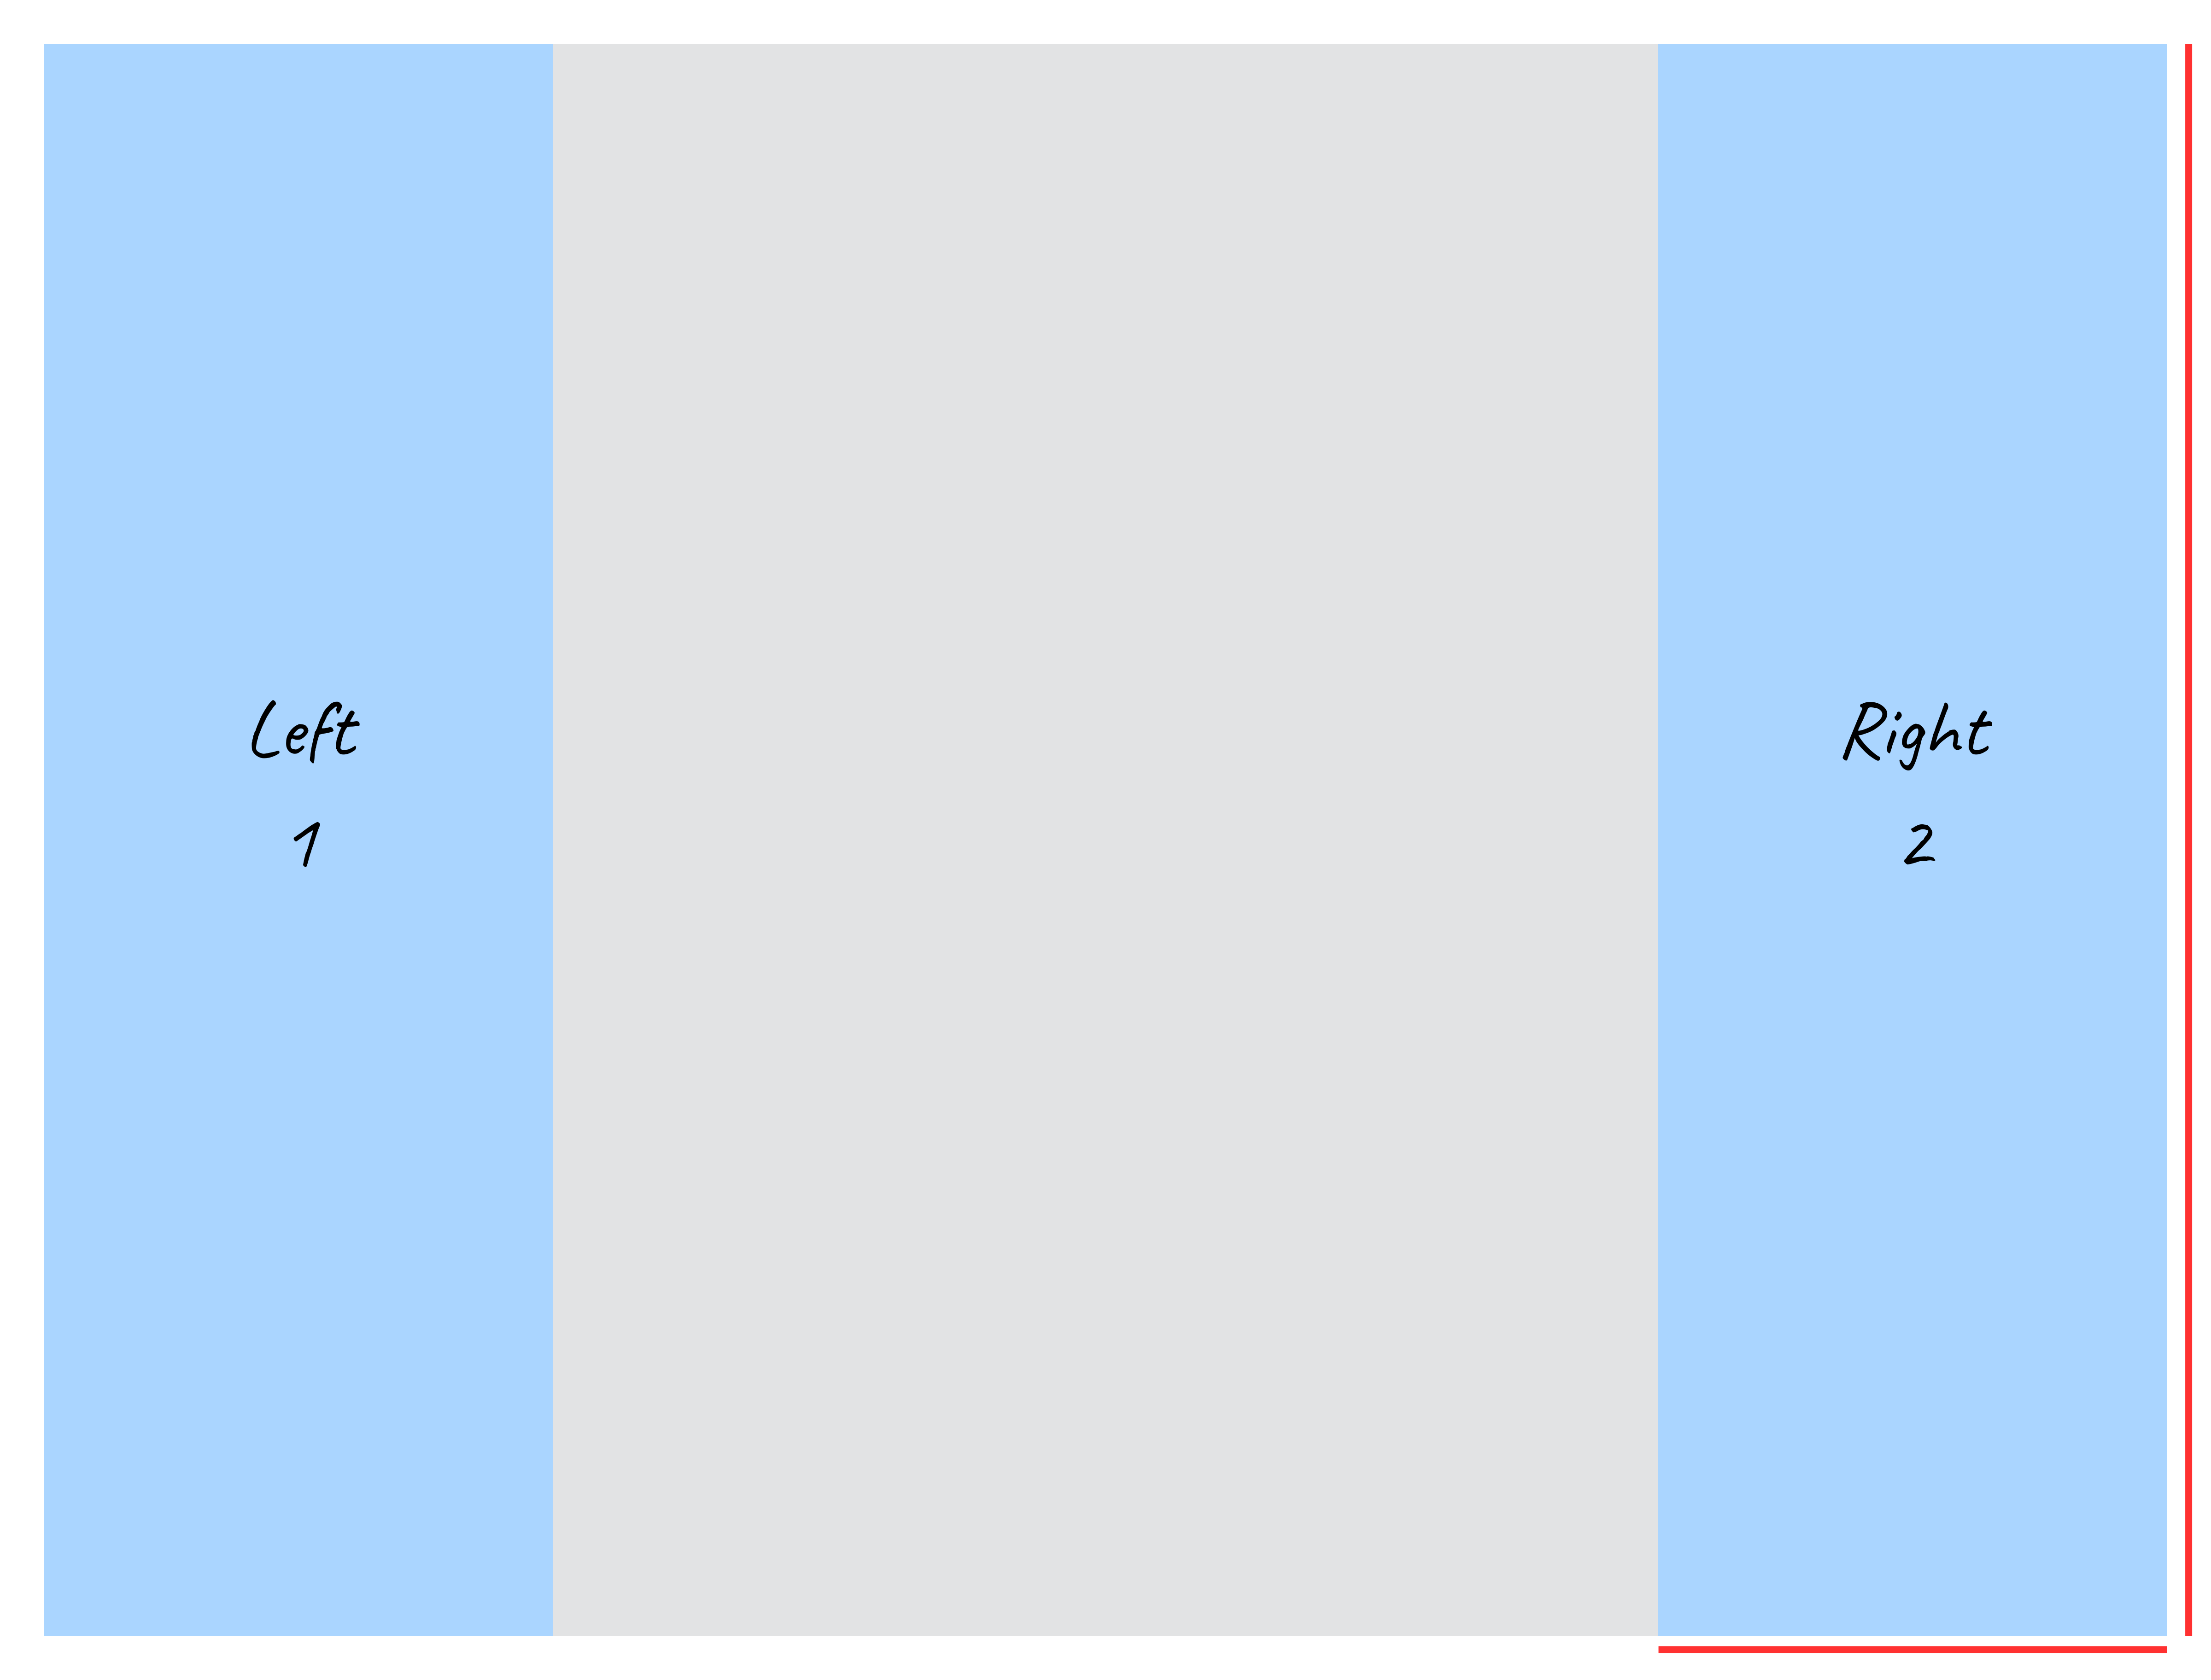
  1. Move to the right panel.

    1. Repeat the process that was followed for the left panel except align to the bottom and right edges.  

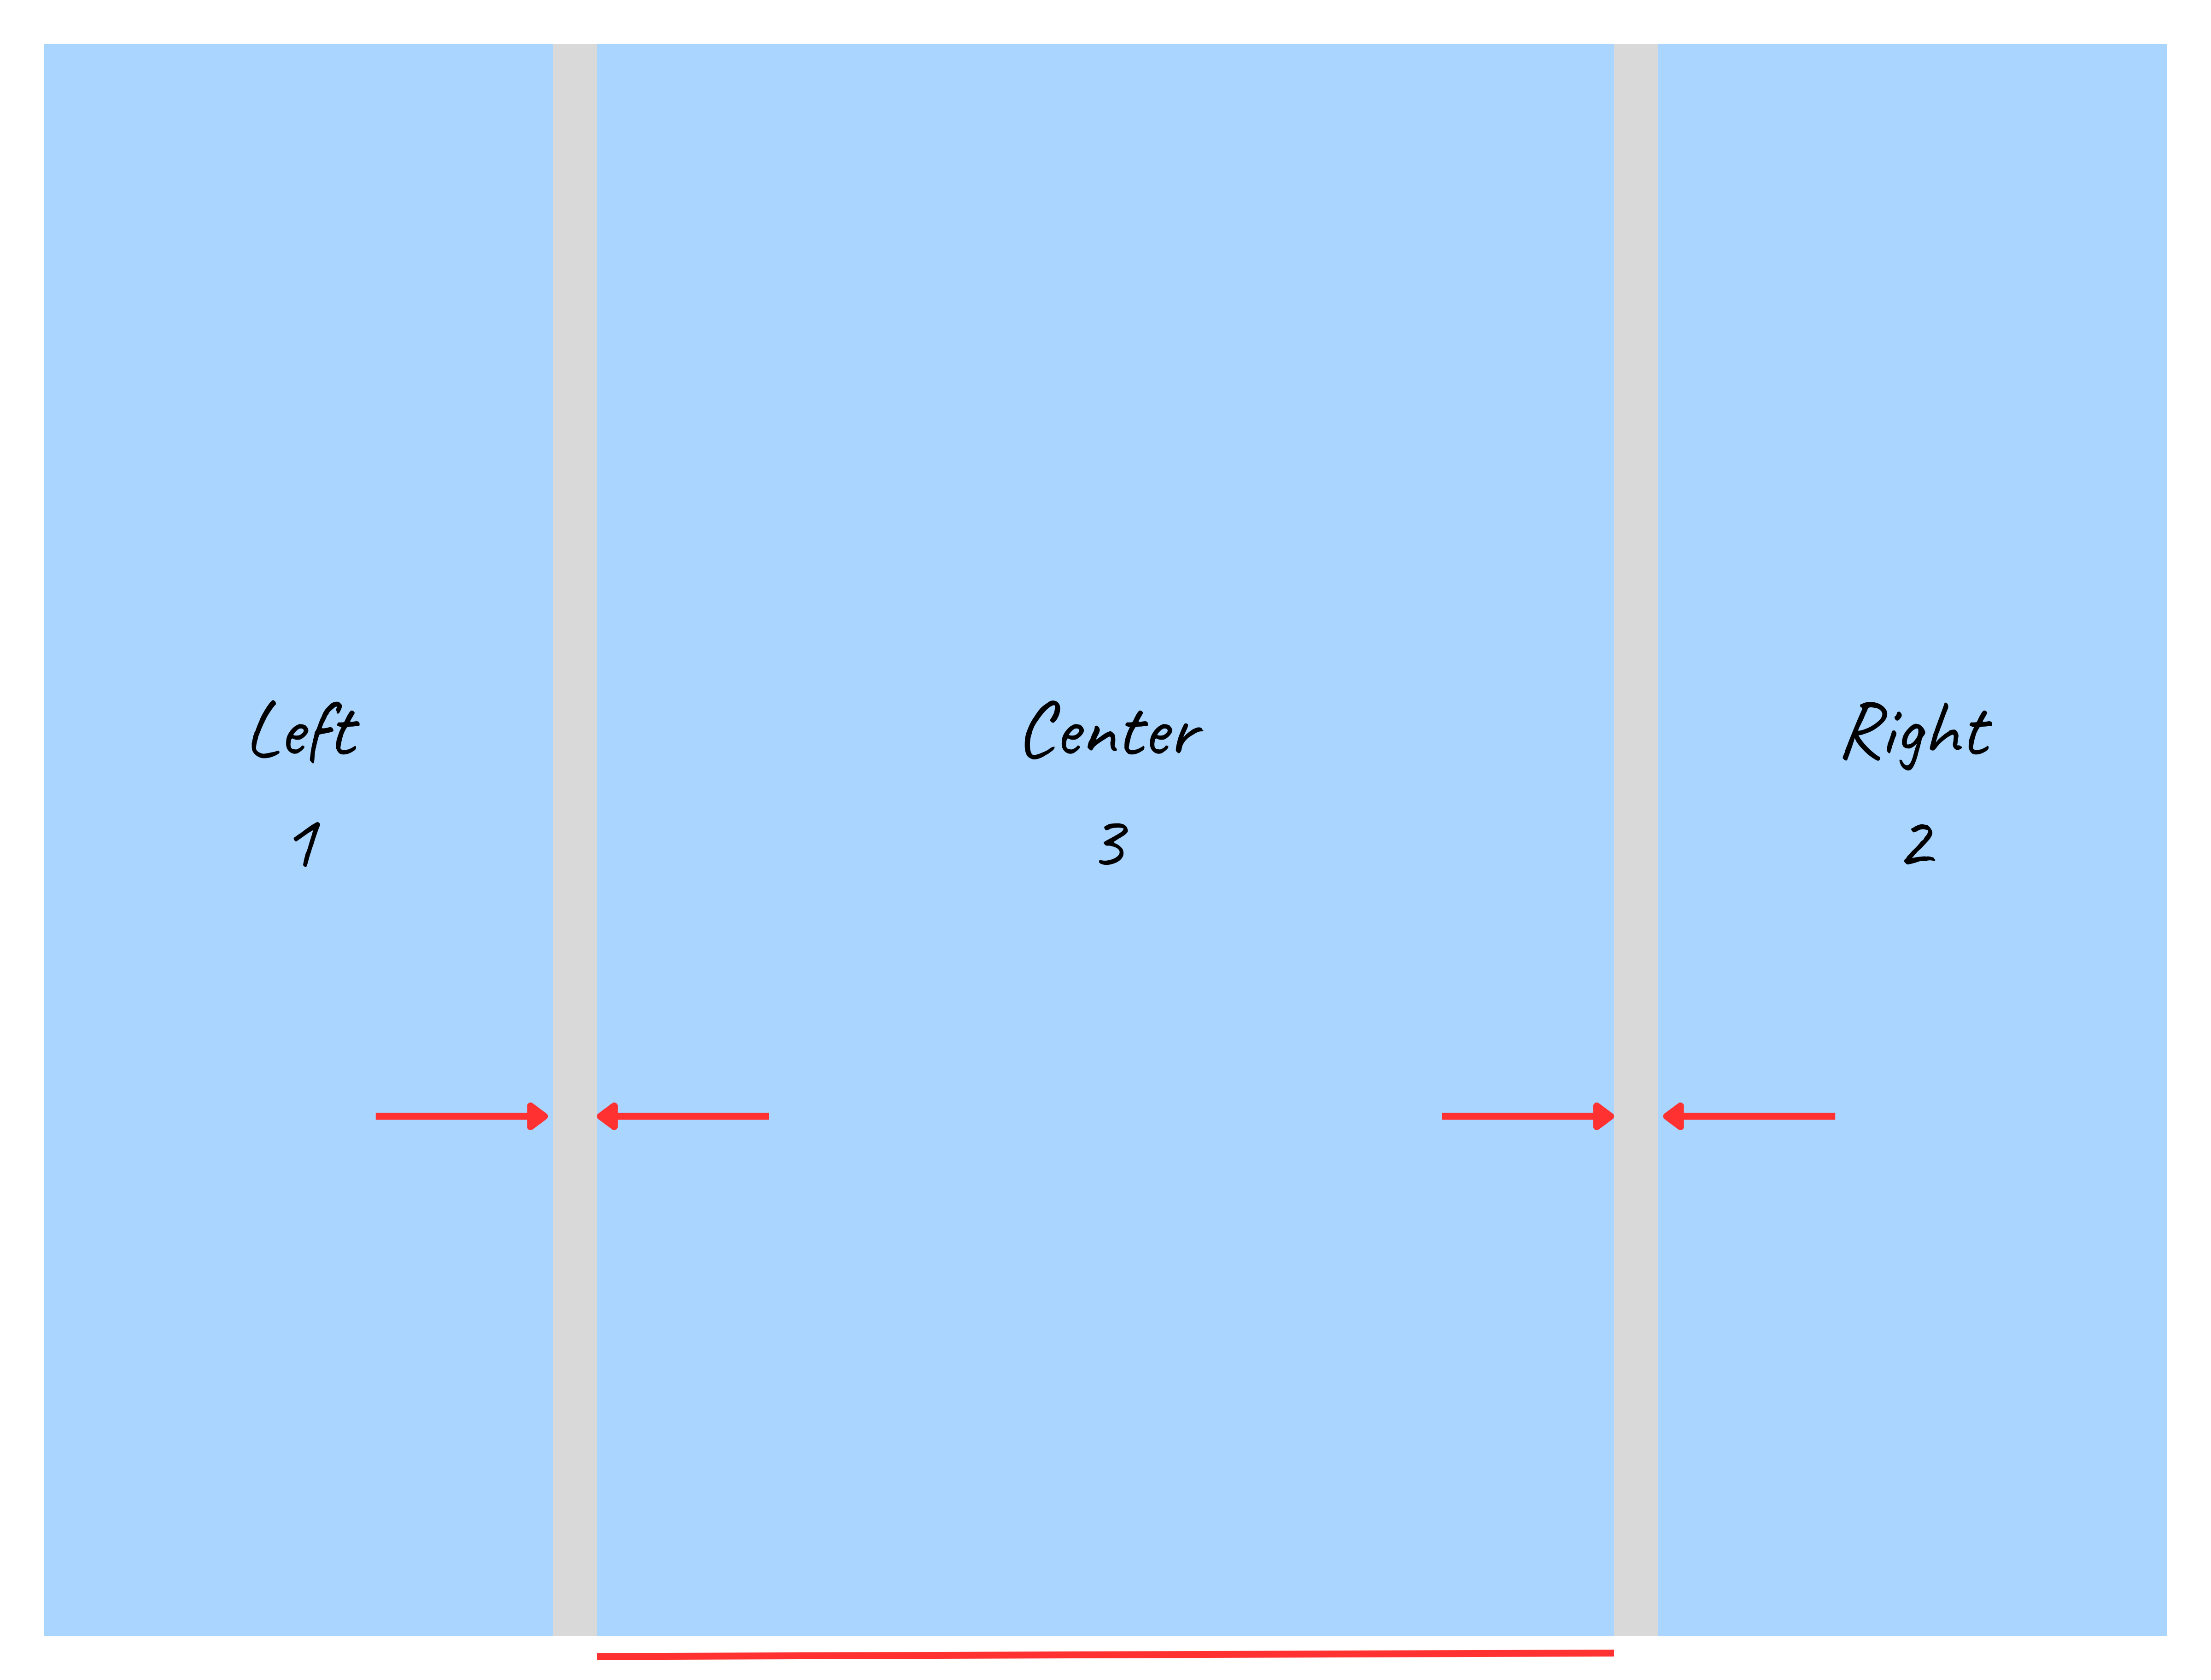
  2. Finish with the center panel.

    1. Align the bottom of the panel with the tri-fold and center equally between the left and right panels.

    2. Follow the same gluing process as with the other panels.

How to access your Canva template

When you complete the purchase there will be a download link on the payment confirmation screen and login credentials in the order confirmation email.  Open the link to access the template in Canva.

Canva is a powerful yet easy-to-learn design program that is popular in both schools and businesses. It offers a large selection of fonts, graphics, clip art, backgrounds and more. No need to download any software or create an account. Canva works completely online.

The template is fully editable. Use it as-is or simply as a starting point. You can rename, move, delete, add, create graphs and charts, etc. until you have it just the way you want it. Be sure to check your school’s rules to ensure you include all of the required elements.

Once your design is complete and ready to go you simply download your design as a PDF file in Canva and email the file to support@myscienceboard.com along with your order number.

Adding a graph, chart or other data based graphic to Canva

If you have created a chart, histogram, pivot table or any other data page and would like to add it to your template here is what you do.  First thing you need to do is get the graph converted to a image file (jpg or png work good).  Once you have an image file you can upload to Canva and drag and drop it onto a image placeholder in the template.  Be sure you have matching orientations between the image file and the image placeholder i.e portrait or landscape to ensure everything fits.

Here are a few published methods available:

Excel for Microsoft 365, Word for Microsoft 365, PowerPoint for Microsoft 365

Source: Microsoft Support 

You can quickly copy your chart to another application, or save it as a separate image file.

  1. Click the chart that you want to save as a picture.

  2. Choose Copy from the ribbon, or press CTRL+C on your keyboard .

  3. Switch to the application you want to copy the chart to. If you're saving as a separate image file open your favorite graphics editor, such as Microsoft Paint.

  4. Place your cursor where you want the chart to appear, then select Paste from the ribbon, or press CTRL+V on your keyboard.

If you've pasted your chart into a graphics editor to save as a separate image file, use File > Save to save it as a new file.

Tip: If you find that there's a lot of unwanted whitespace around your chart, you can use your graphics editor's cropping tool to remove it.


Google Sheets

Source: Google Docs Editor Help

Save a chart to your computer

You can download charts in SVG, PNG, or PDF format.

  1. On your computer, open a spreadsheet in Google Sheets.

  2. Click your chart.

  3. At the top right of the chart, click More | Download as.

  4. Choose your file type. Preferably PNG.